Your cart is currently empty!
Ceiling Rose Assembly (Multi-Part Version)
When your ceiling rose is larger than a single piece, it comes divided into multiple sections. Follow these steps to assemble it securely before installing.
Step 1 – Prepare the Parts
- Lay all parts flat on a clean surface.
- The order usually doesn’t matter — if markings are present, match identical numbers or letters to connect correctly.
Step 2 – Connect the Sections
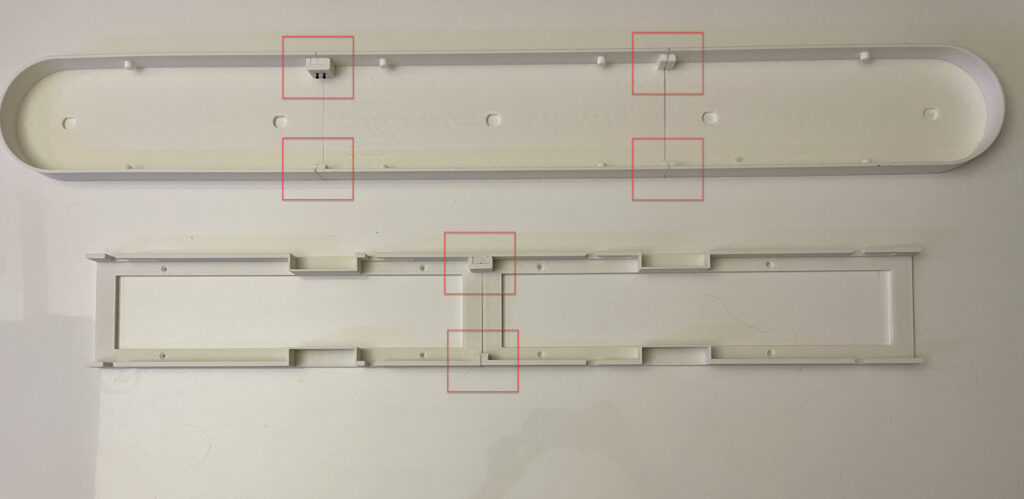
- Align two parts edge to edge.
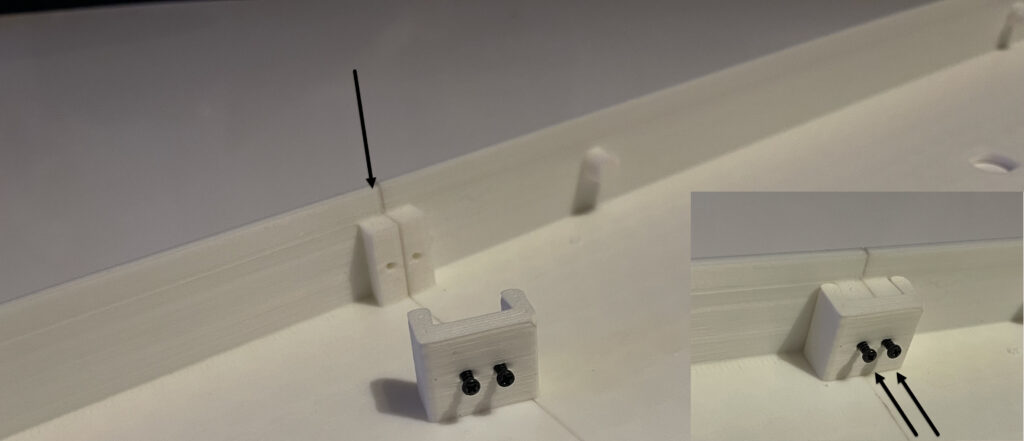
- Insert the included dovetail connector from the top, sliding it firmly to lock the pieces together.
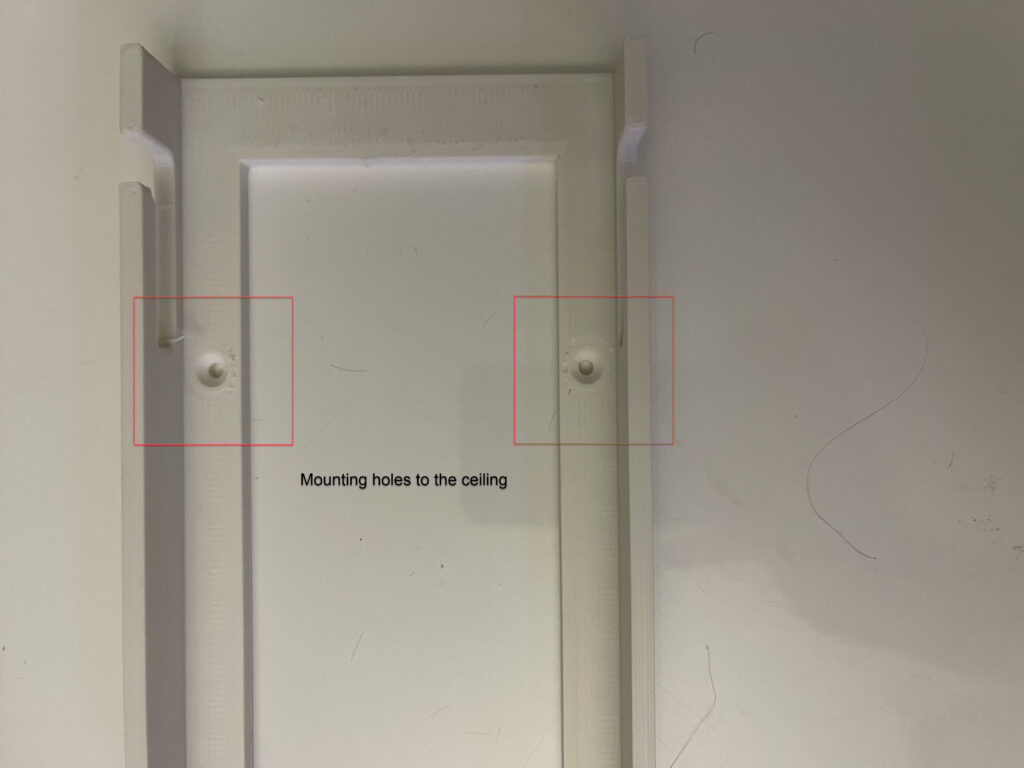
- If both parts have pre-drilled holes, secure the connector with the small screw provided.
(Note: Screws are only required when holes are present on both sides. Usually only the ceiling rose only! The bracket doesn’t require as it will be fixed to the ceiling.) - Repeat the process until all sections are connected.
Step 3 – Continue with Main Installation
- Once the rose is assembled, return to the main installation instructions: https://customcornerdesign.com/manuals/
- Fix the ceiling bracket securely to the ceiling.
- Attach and connect the lamp cables.
- Mount the completed ceiling rose over the bracket.